Backcountry Awareness: A Few Tips For When You Go Beyond The Boundaries – Equipment Selection
Mountainwatch | Doug Chatten
When it comes to heading into the backcountry, the old adage is “Know Before You Go”, and Doug Chatten from Snowy Mountains Backcountry knows better than most, so we’ve hit him up for regular backcountry advice that anyone heading into the backcountry should take on board. Here Doug gives the rundown on what equipment you need in the backcountry and why.
The following info is not an exhaustive list of necessary equipment for backcountry skiing/boarding, rather some points of view on selection to get you thinking or comparing your own ideas.
Think hard before you exclude items from your pack based on your proximity to the trail head or resort area boundary. Some professional guides don’t prescribe to the term side-country and find it misleading to the lesser experienced believing that once you leave the trailhead/resort boundary you are backcountry and therefore should have enough equipment and scope in your kit to be self-reliant. If forgoing equipment means you may become dependent upon others or more exposed whilst awaiting assistance, then there are better decisions to be made as responsible backcountry skiers.
Likewise, it is unwise to become overburdened by too much equipment, if you have items in your pack that you are continually not using other than emergency equipment then perhaps you should consider omitting them. It’s true that as your skills, knowledge and experience increase your risk decreases somewhat and this in turn can justify the more advanced travelling deeper with a lighter pack but remember no one is impervious to unforeseen circumstances.
“The art of having the necessary amount of equipment is a balance between your ability as a backcountry enthusiast, endurance levels and the conditions you may encounter on any given day.”
Perform a thorough check of all your gear and equipment at the start of each season and prior to every tour, it pays to be at a heightened state of preparedness ready to make the most of favourable conditions. If meeting a group at the trailhead, as well as talking over the intended route the night before you should have discussed the possibility of any shared equipment. Each individual should have their gear checked prior to commencement on the day by the group.
There are many things to consider when planning a group trip, but pay special thought to what equipment your group has and what objectives you are planning; it is one of the biggest limiting factors to a successful group journey. Identify and plan for the weaknesses and capitalise on the strengths.
Does our group have a mix of heavy and lightweight gear? No, we all have tech bindings, light skis and boots: “Okay, I reckon we can go with the initial plan. However, if Alan’s mate turns up on his 184 by 110 fatties with frame bindings I reckon we will have to amend our intended route.”
When sharing group emergency gear consider you may get split up: “Hey, Johnno, I reckon it’s time to activate the PLB…. oh no, Debbie has it and she headed back after lunch.”
Never skimp on your gear! Get good stuff and keep it in good repair, retire or repair it as required: I’m going to get those skins off eBay, that’s a deal: “If Joey hasn’t re-glued or replaced his old climbing skins he’ll be holding us up all day, again!”
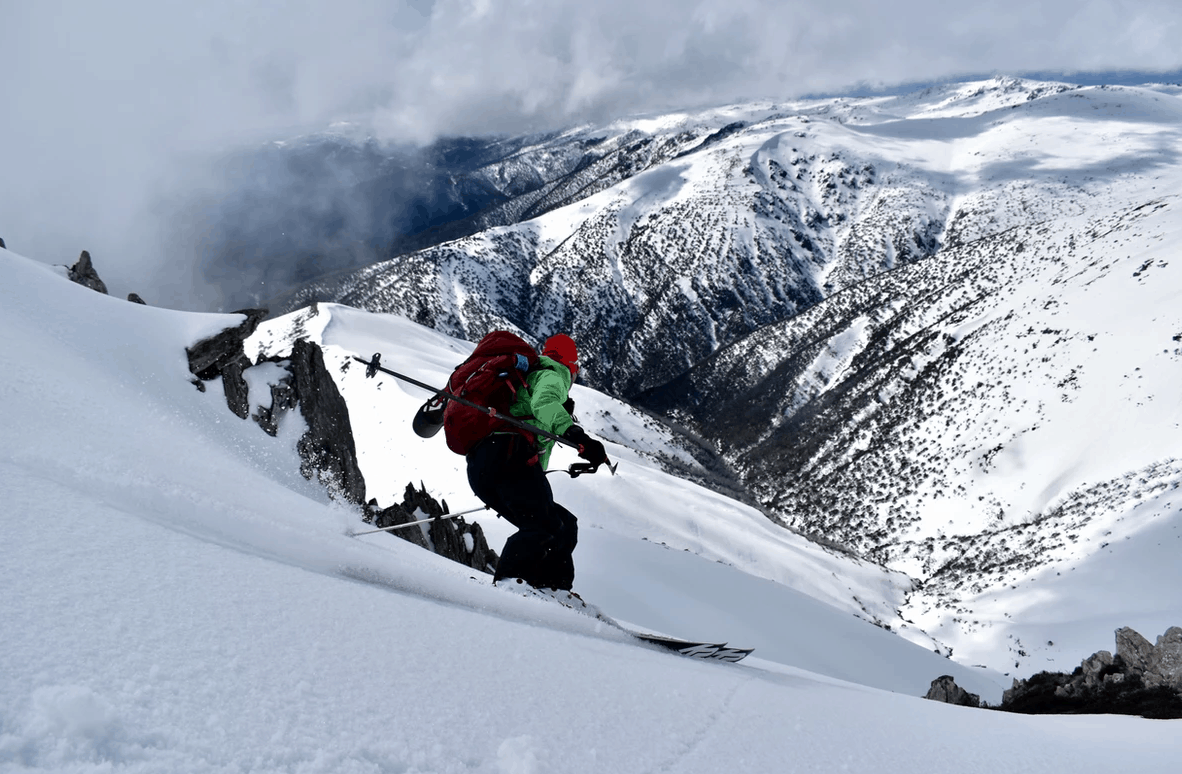
If I’m headed for the steep country I always take crampons, ice axe and a self-arrest ski pole. As the slope angle increases and/or conditions become icy this equipment is invaluable and adds a huge layer of safety to your day. When encountering slope angles in the high 20degree range, climbing skins begin to fail and your progress becomes inefficient and impractical. Boot packing in steep and/or icy terrain can be extremely dangerous and fitting a crampon in this situation greatly reduces your risk exposure and increases your efficiency.

If you are snowboarding you really should consider a full shank or stiffer sole boot that can take a crampon like Fitwell, K2 Aspect, Thirty Two MTB Jones, Burton Tourist, Deeluxe Spark XV. A standard soft snowboard boot lacks integrity at the boot sole/crampon interface because of the flexible sole and in steeper terrain you run the risk of losing a crampon. Whilst it is difficult trying to kick into firm steep snow in a ski boot or full shank snowboard boot, finding yourself in this position in soft boots without crampons will put you in a very exposed and dangerous situation.
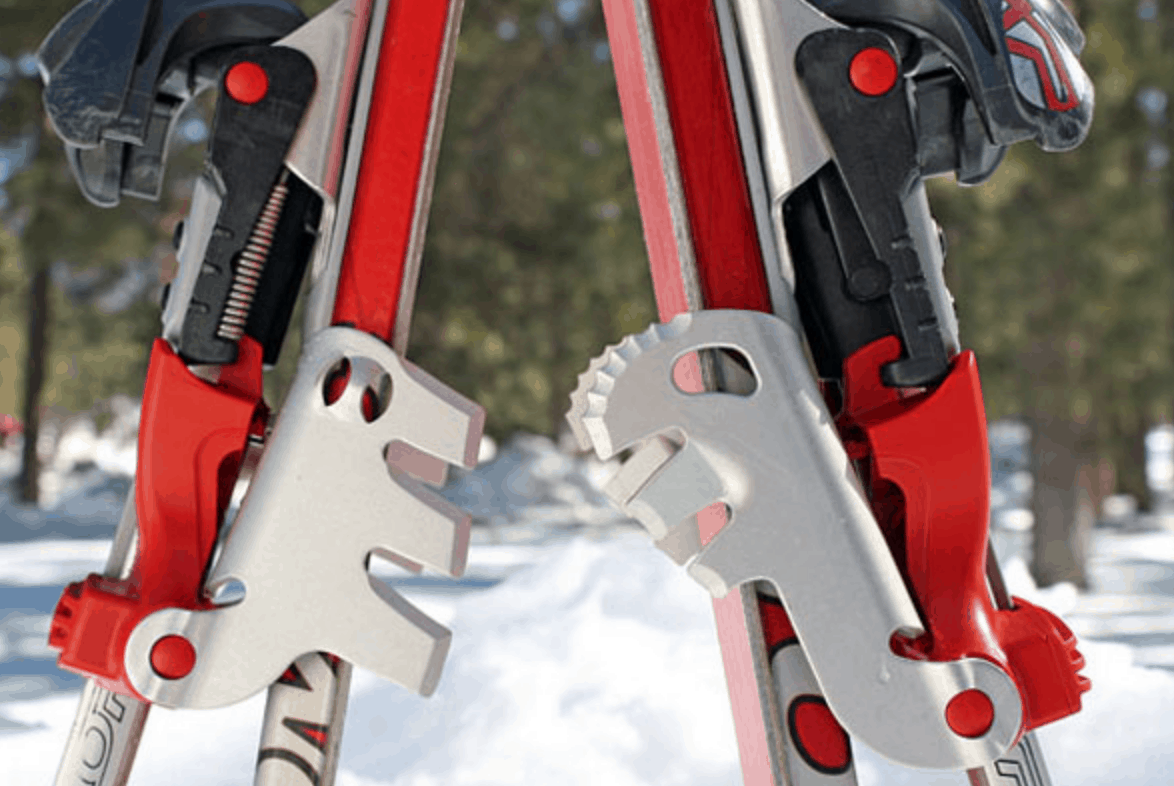
Ski and snowboard crampons are an ingenious invention that dramatically increase your safety margin and efficiency when the surface conditions become such that your skins are failing, but you would prefer to keep skinning or you have no boot crampons and boot packing is not an option. Most touring bindings, ski or snowboard, have capability for a ski crampon.
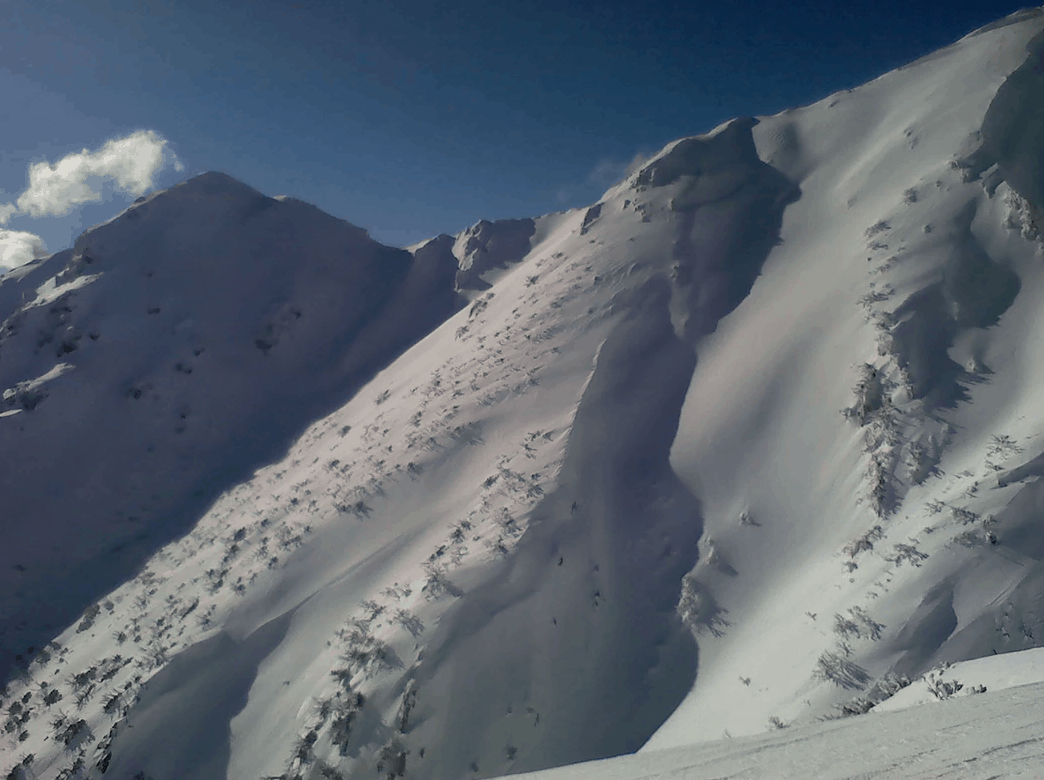
In recent years the popularity in the backcountry has been increasing and there seems to be many backcountry enthusiasts gaining some education but heading out with limited equipment, water, food and not much else! I am sure this is contrary to what they have been taught or researched. Knowledge is power but don’t let a little bit of knowledge and minimal experience overshadow the need for recognising the more likely, less sexy but equally consequential hazards in the Australian backcountry such as:
– white outs and cornices – navigation equipment (compass, map, GPS, PLB, phone, In Reach)
– hypothermic conditions – emergency layers (Puffy), shelter, shovel
– slips/trips/falls in steep and/or icy conditions – crampons, ice axe and self-arrest poles
– snow bridges and river crossings – recognition and crossing techniques.
When buying new gear, always go for quality. Don’t let price dictate purchases, identify what you need and go shopping! As John Ruskin quoted in the 19th century: “It’s unwise to pay too much but it’s worse to pay too little. When you pay too much, you lose a little money – that is all. When you pay too little, you sometimes lose everything, because the thing you bought was incapable of doing the thing it was bought to do!”
My gear, in no particular order:
- – 40Litre Mont Sentinel Pack
- – K2 Waybacks,
- – FRITSCHI Tecton12
- – SCOTT Super Guide AT boots
- – G3 Alpinist Universal climbing skins
- – Shell Jacket & Pants: Mont Supersonic
- – Mid Layer: Mont Grid Pro Hoodie
- – Thermal top & bottom: no cotton
- – Insulation layer: Mont Guide Hoodie
- – Beanie, Neck Gaiter, Sun Hat
- – Gloves: winter weight and spring
- – food, water, emergency ration (jerky, energy bar)
- – map and compass, note pad and pencil
- – First Aid kit including heat warmers
- – Comms
- – GPS, PLB
- – headlamp
- – whistle
- – sunnies + goggles
- – Sun smart
- – BD Neve crampons
- – Fritschi Traxion ski crampons
- – Ice Axe: BD Raven Ultra
- – Self-Arrest Ski Pole: BD Alpine Whippet
- – Shelter lightweight (Vango200, 2-man bothy bag)
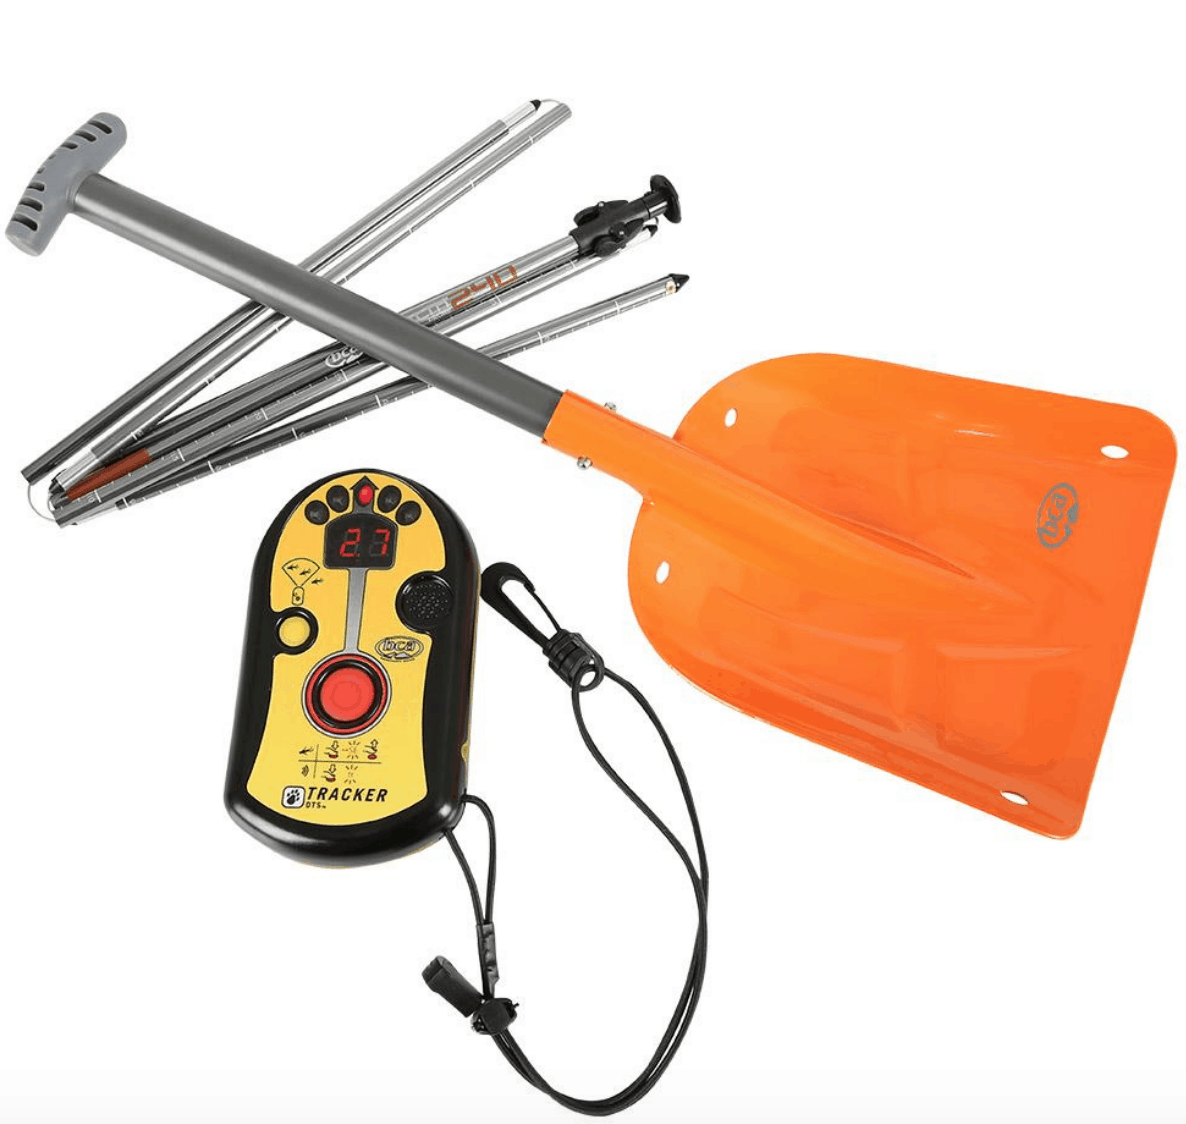
- – Beacon, probe & shovel
- – Repair Kit
When I head backcountry I pretty much have the same kit in my pack every time. The only time this varies is according to my length of stay – i.e. day or multi day trip. Beware of packing light just because the forecast is ideal, you never know what lies ahead and an unforeseen circumstance could see you overnighting on an otherwise perfect day. It may then be your lack of equipment that becomes your biggest issue, not the initial problem.
Bottom line is, in case of emergency I need enough gear to get out of the weather for the night and be safe until help arrives or I self-evacuate the next day. On a day trip I’m not planning on staying overnight but I’m planning to be able to survive overnight if necessary.
For more tips from Doug and information on backcountry tours in the Snowy Mountains head to Snowy Mountains Backcountry
If you need backcountry gear check it out the backcountry collection the Mountainwatch store