You Can Build An Igloo In Australia – Here’s How
Mountainwatch | Tim Ashelford
With heavy snowfalls recently, Editor of We Are Explorers Tim Ashelford expected thick snow and deep turns. What he didn’t expect was a lesson in how to build an igloo… But he’s sure glad he got one!
Here’s how it went…
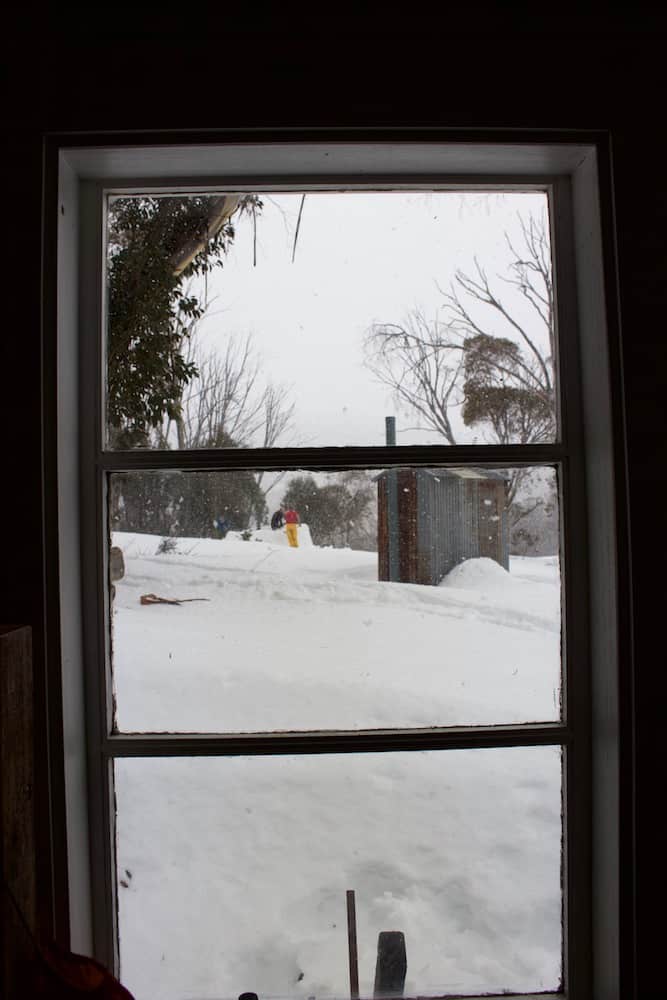
After skiing in to Horse Camp Hut at 1.00am and crashing out, we woke to heavy snow steadily coating the wilderness around us. What a morning to be spectacularly lazy, press multiple coffees, have an early lunch and consider a beer. We’d been invited by the fellas at Capital Brewing Co. after all.
It was then that a grizzled pattern-based skier named Billy declared that he was going to build an igloo.
…What?
But he was serious — without any fuss, or even an extra layer, Billy and another bloke named Thor tramped out of the hut and into the snow.
What Kind Of Snow Will You Need?
Obviously if the snow is really icy and hard to work with it’s not going to be prime for igloo building. You also can’t use the super powdery stuff, dig down to the firmer layer if it’s been snowing heaps. Temperatures will need to be dipping below zero overnight — this isn’t a spring snow activity!
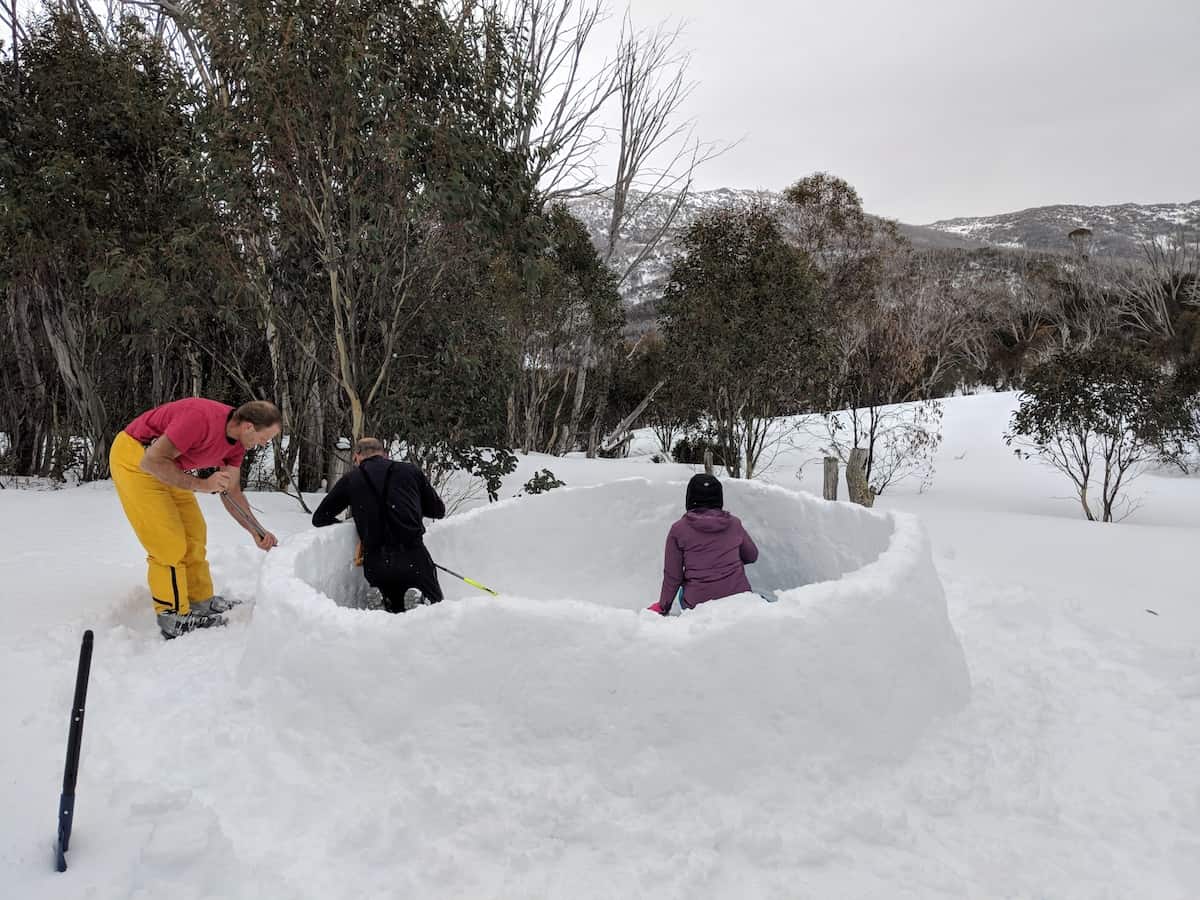
Let’s Build An Igloo
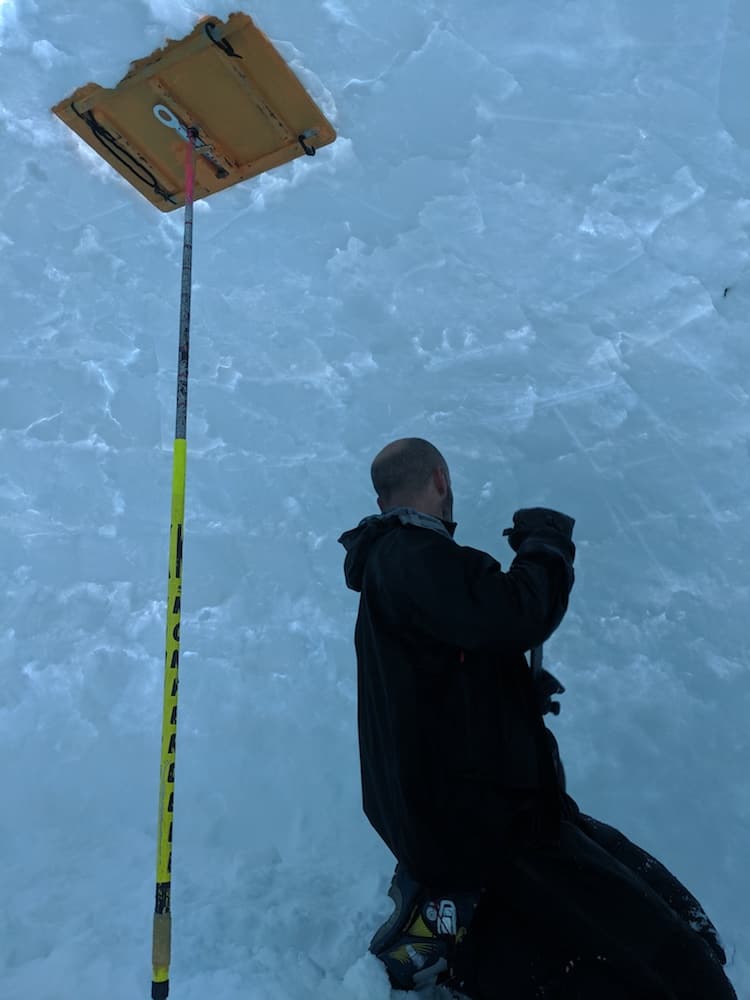
The first thing that surprised me was that Billy wasn’t going to use bricks. Instead he had a piece of board that pivoted on some old ski poles and included a little tongue to hold it in place (more on that later).
After finding a pretty flat spot* with snow firm enough to stand on, the method basically involved scooping up a decent-sized lump of firm-ish snow and packing it against the board, then moving the board across a bit and repeating the process.
*Building your igloo into a slope can make the build easier, but don’t go too steep!
This igloo was set to be 3 metres across, but first-timers might want to start with something smaller (which would also be warmer unless you have 5 people sleeping in it like us).
Time To Spin
Keep moving your board around the centre until you have a tiny round snow pen. Then start again, stacking in snow, pushing it together and filling any gaps before moving the board. Don’t rush! If you get bored, peg a snowball at your mate or challenge them to a snow wrestle to warm up.
This is where the metal tongue comes in handy, it pokes through the board just below the centre and holds the board up while you pack snow with both hands.
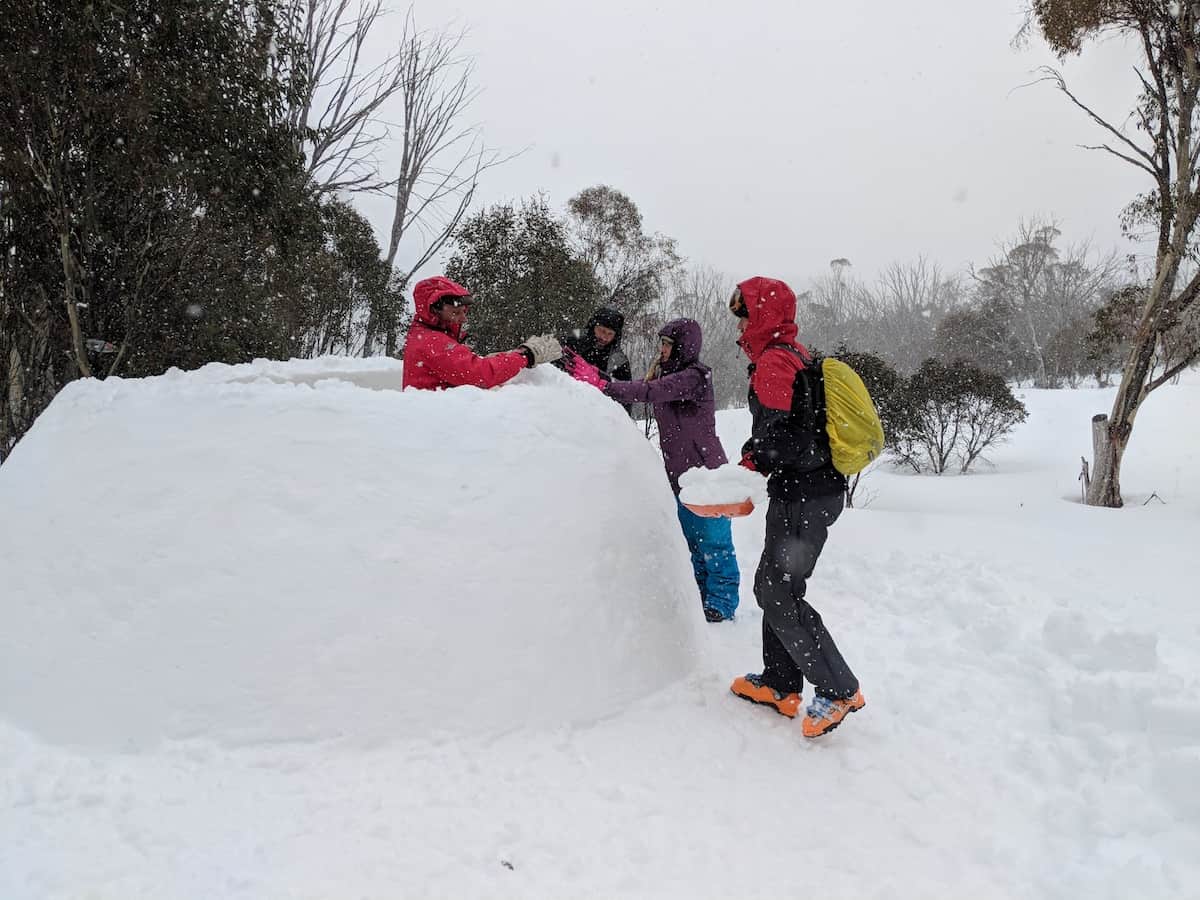
Get A Production Line Going!
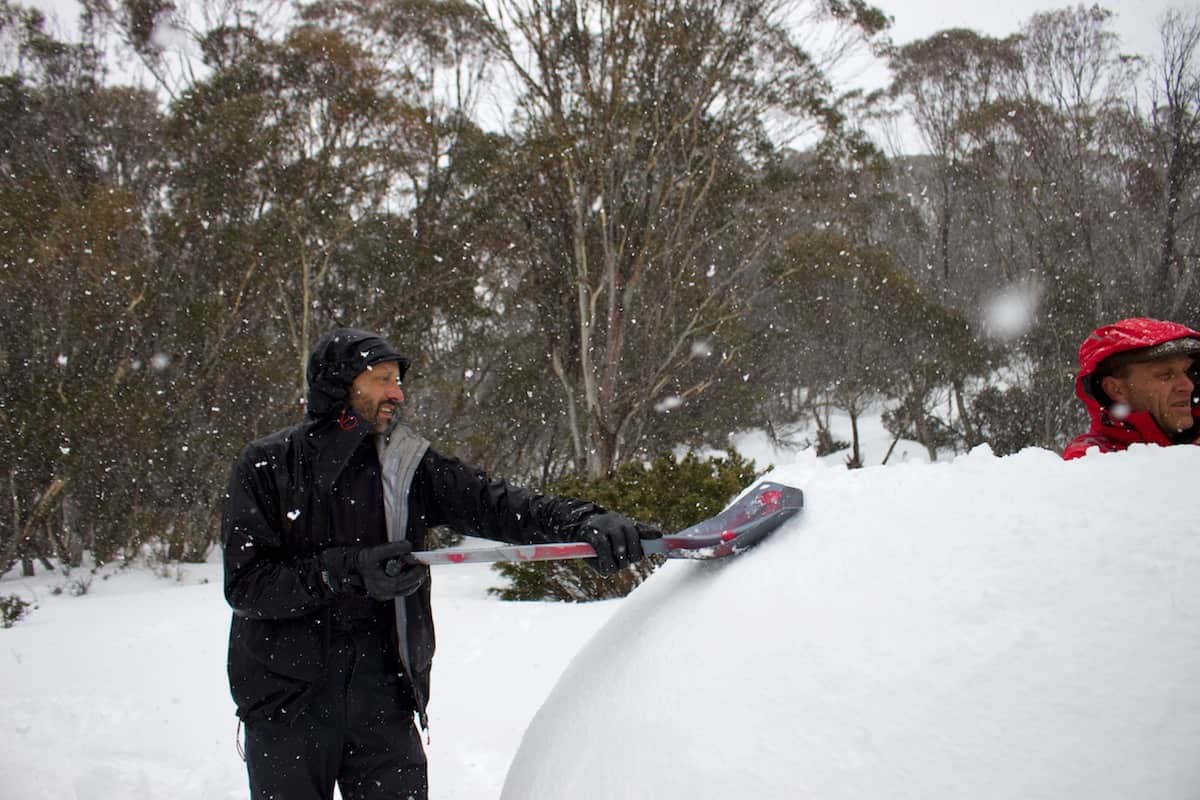
We had one person packing snow, two shovelling up a constant supply and two more smoothing and patching the outside. Aesthetics are important when you’re making a flippin’ igloo.
Starting The Dome
Once the igloo’s walls are about waist high you’re going to want to start rounding off that dome. Slowly bring the wall inwards, packing the snow firmly. You might want to get the snow shovelers to give you smaller helpings so you can make sure the dome is nice and strong. The dome shouldn’t get above average head height, don’t make it too tall!
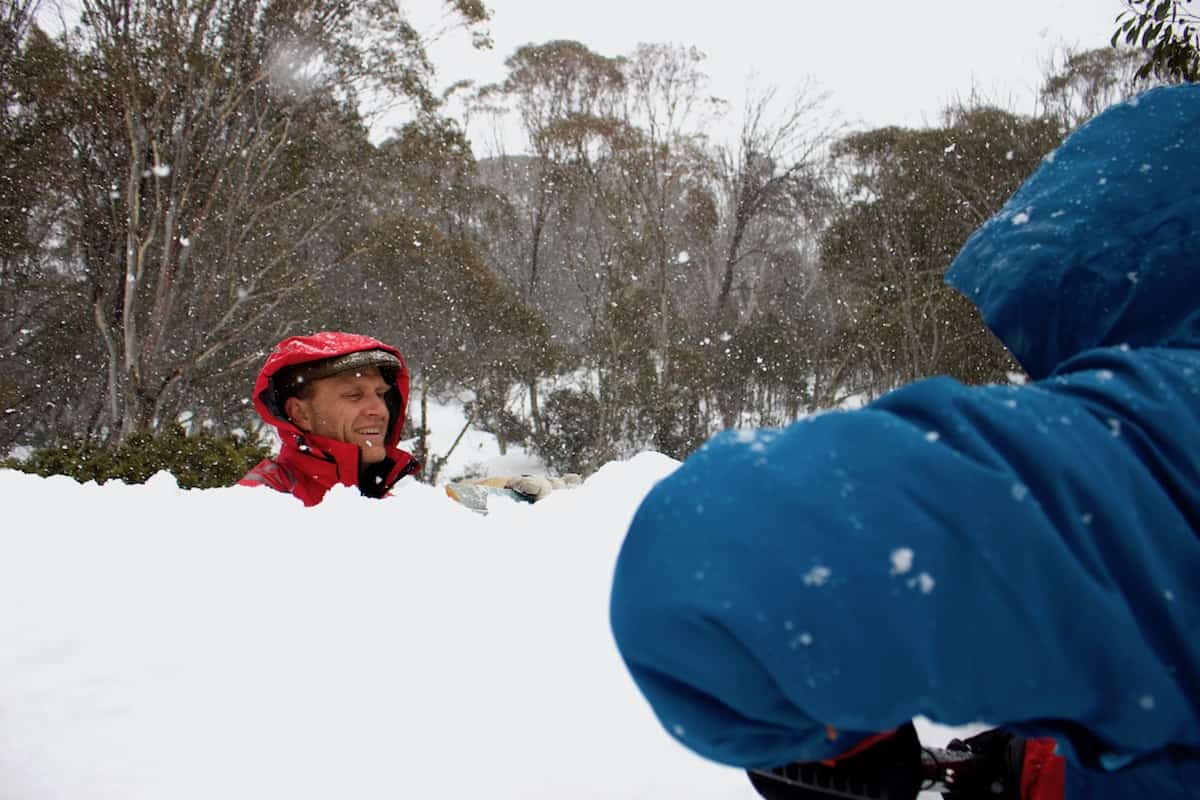
It’s exciting at this point how quickly the dome closes over. You might have to start “throwing” the snow to your friend in the middle, especially for that final bit. You can put your packing board up vertically and really pack in the snow, then get people to press it in by reaching over with their shovels.
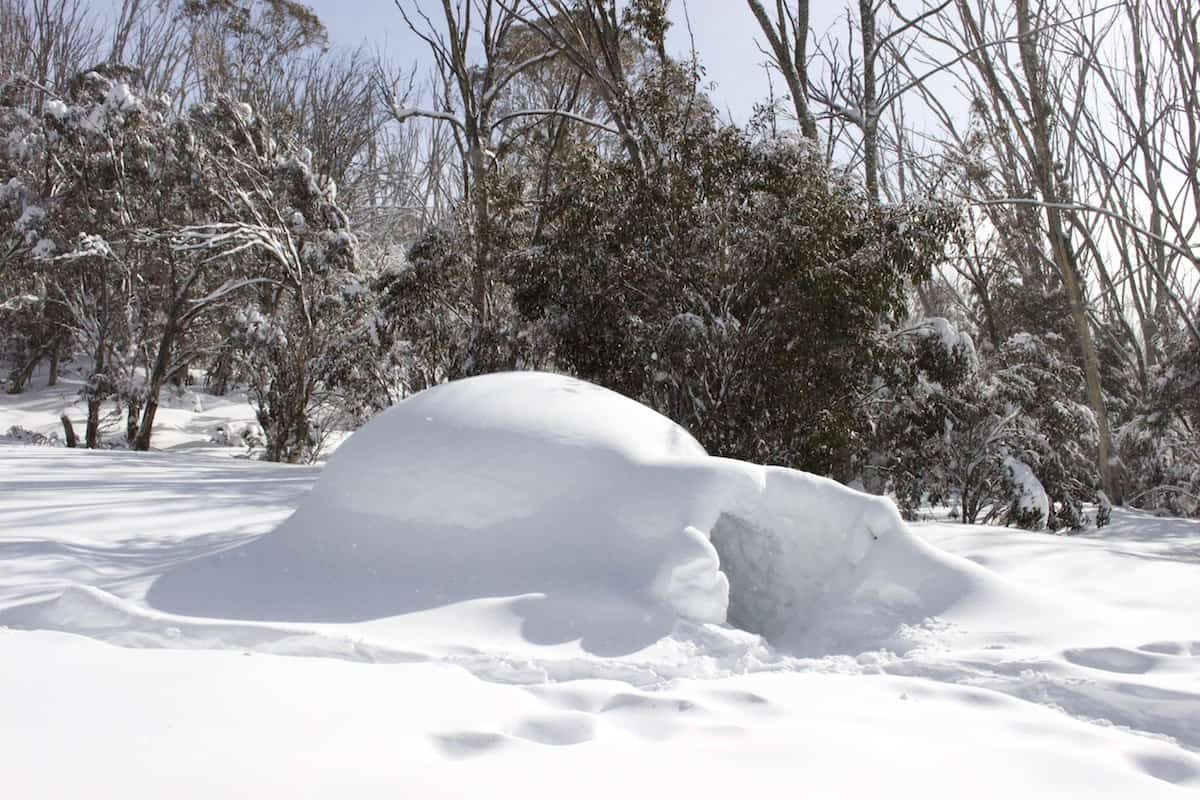
Digging Out The Entrance
At this point Billy was completely sealed within the igloo. We had to get him out or he was in danger of suffocating in one to two days!
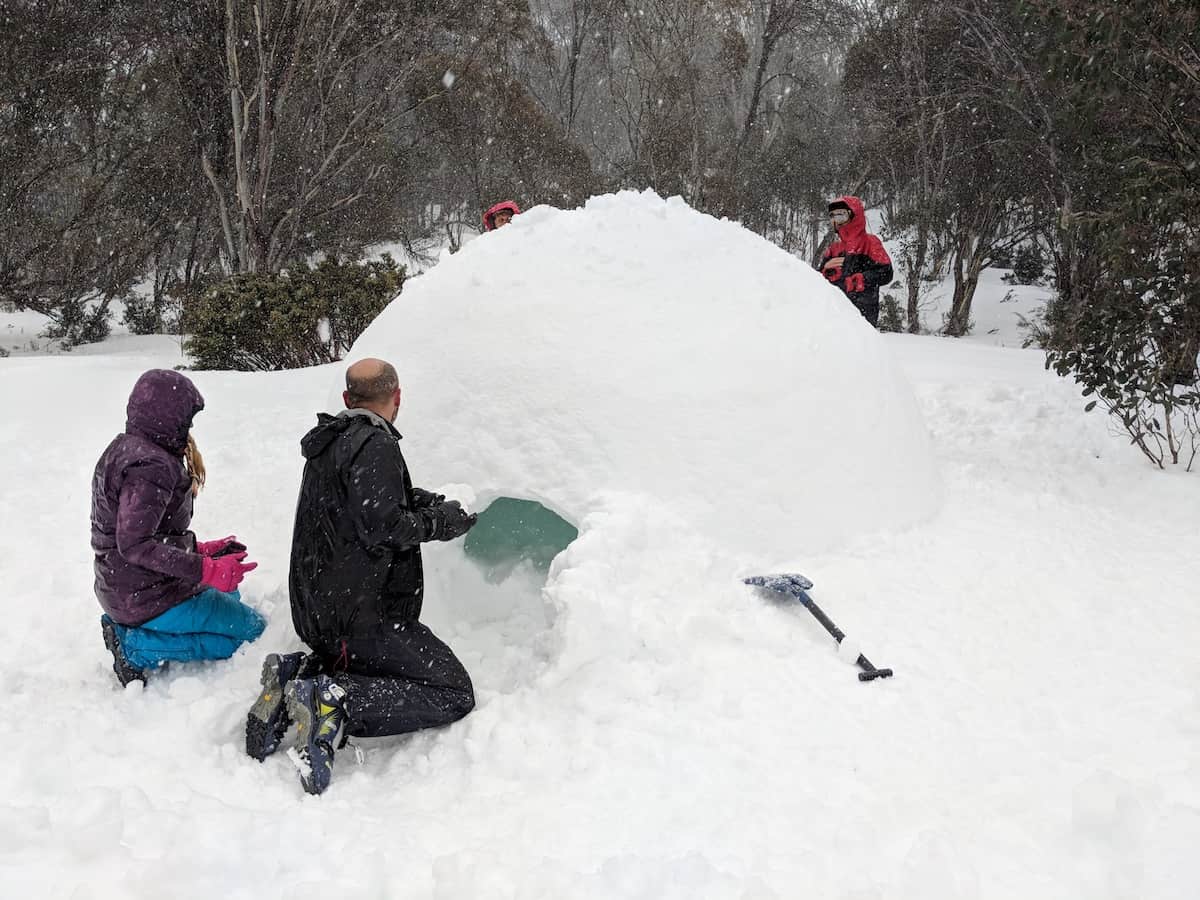
We started by digging down, below ground level, to minimise the amount of igloo wall we’d have to cut out. Then we dug out an entrance, just big enough to crawl through, and created a smaller arch over the entrance to keep snow and wind from coming into the igloo. Get your mate to hold up a snow shovel to support your mini arch while you build it.
“It Looks Like A Cliché Igloo Out Of Pingu…”
I don’t know why, but all the newbies kinda expected a real-life handmade igloo to look different to a cartoon igloo. Not really! The biggest difference was the lack of clear “bricks” that are often used by people with heaps of time. The heavy snow was already coating the structure so we dove inside.
Inside The Igloo
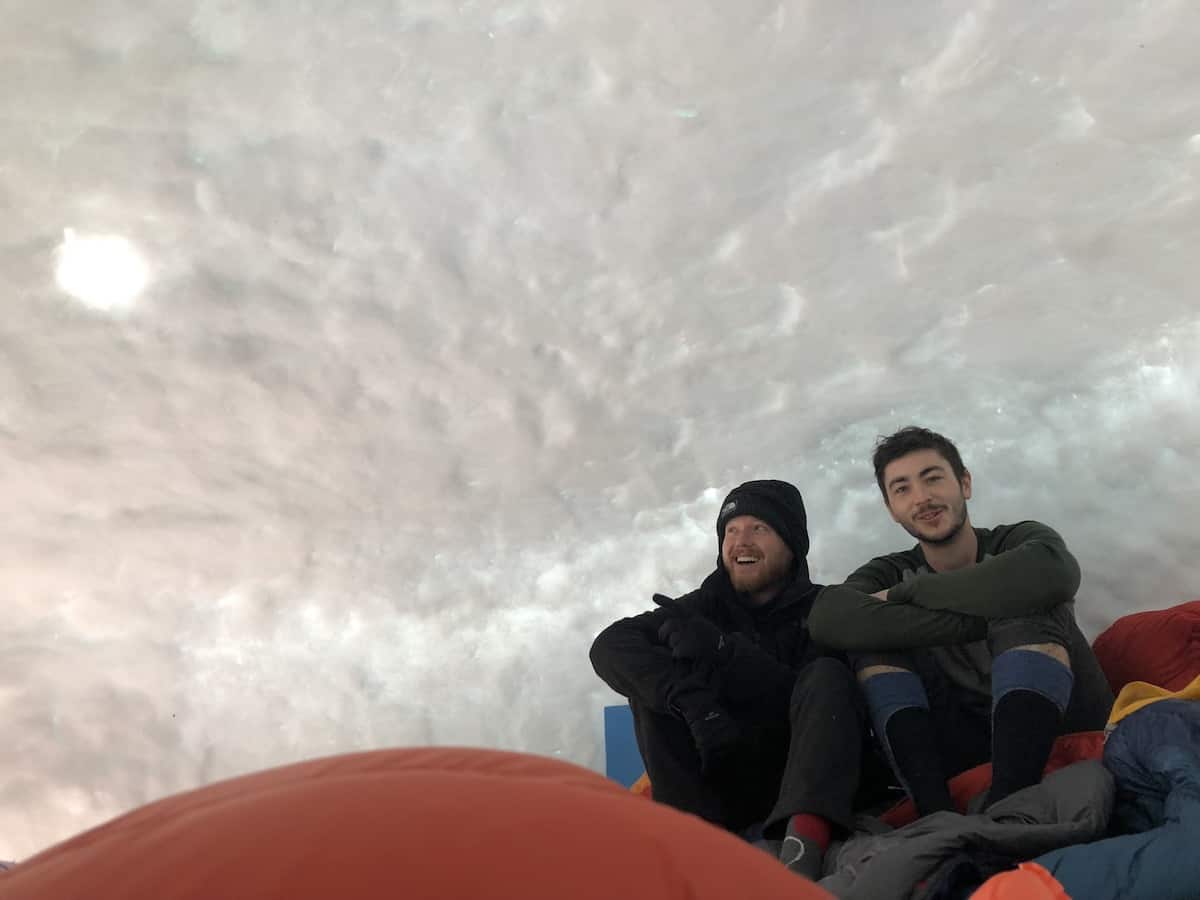
Quiet. Bright. Surprisingly dry. Rad as heck. These were the things that struck me when I got inside. You can’t hear the wind or people chatting from inside and Billy tells me that there could be a blizzard outside and you’d probably not notice.
Light filters surprisingly well through the 20cm thick walls as we remove the roof support and start patching in any spots that need it on the inside. When they build an igloo, the Inuit are known to melt and refreeze the inside to further strengthen the structure, but Thor was confident that with 5 people inside, our body heat would do the job.
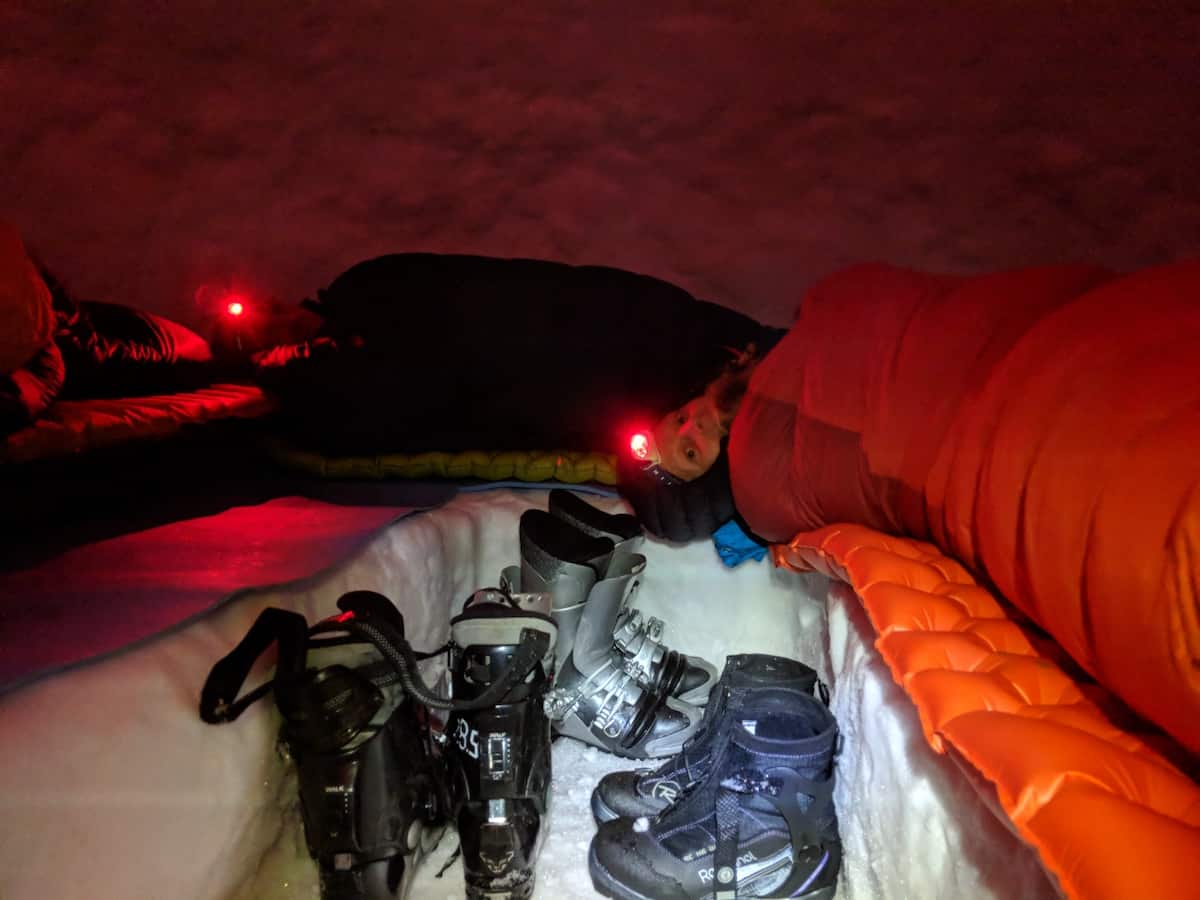
The final touch is a little trench to make getting in easier and to give us some headroom. You can do what you like though. Build a counter, throw your beers in a snow-esky, push head torches into the walls. Snow is the best.
The Hotly Debated Ventilation Hole
Chucking a ventilation hole in your igloo or snow cave seems like common sense, but it wasn’t till bedtime that we realised that we hadn’t poked one. Although Billy was adamant that it was a myth, and that there was no way we’d suffocate with an opening that wide, we decided that poking a hole was easier than dying.
Stay Oxygenated People! It’s pretty important to make sure your entrance isn’t going to get closed over, once the snow freezes the rest of the igloo will become completely airtight. Poke some ventilation holes, dig the entrance trench deep and don’t cook inside. Farts on the other hand — they’re encouraged.
Kick Back And Admire Your Handiwork
Chilling out in a shelter you built yourself is pretty much the most satisfying thing you can do. Kick back snow wizard, you’ve earned it.
This article originally appeared on We Are Explorers.